As September rolls around I get so excited about fall, my favourite time of year!
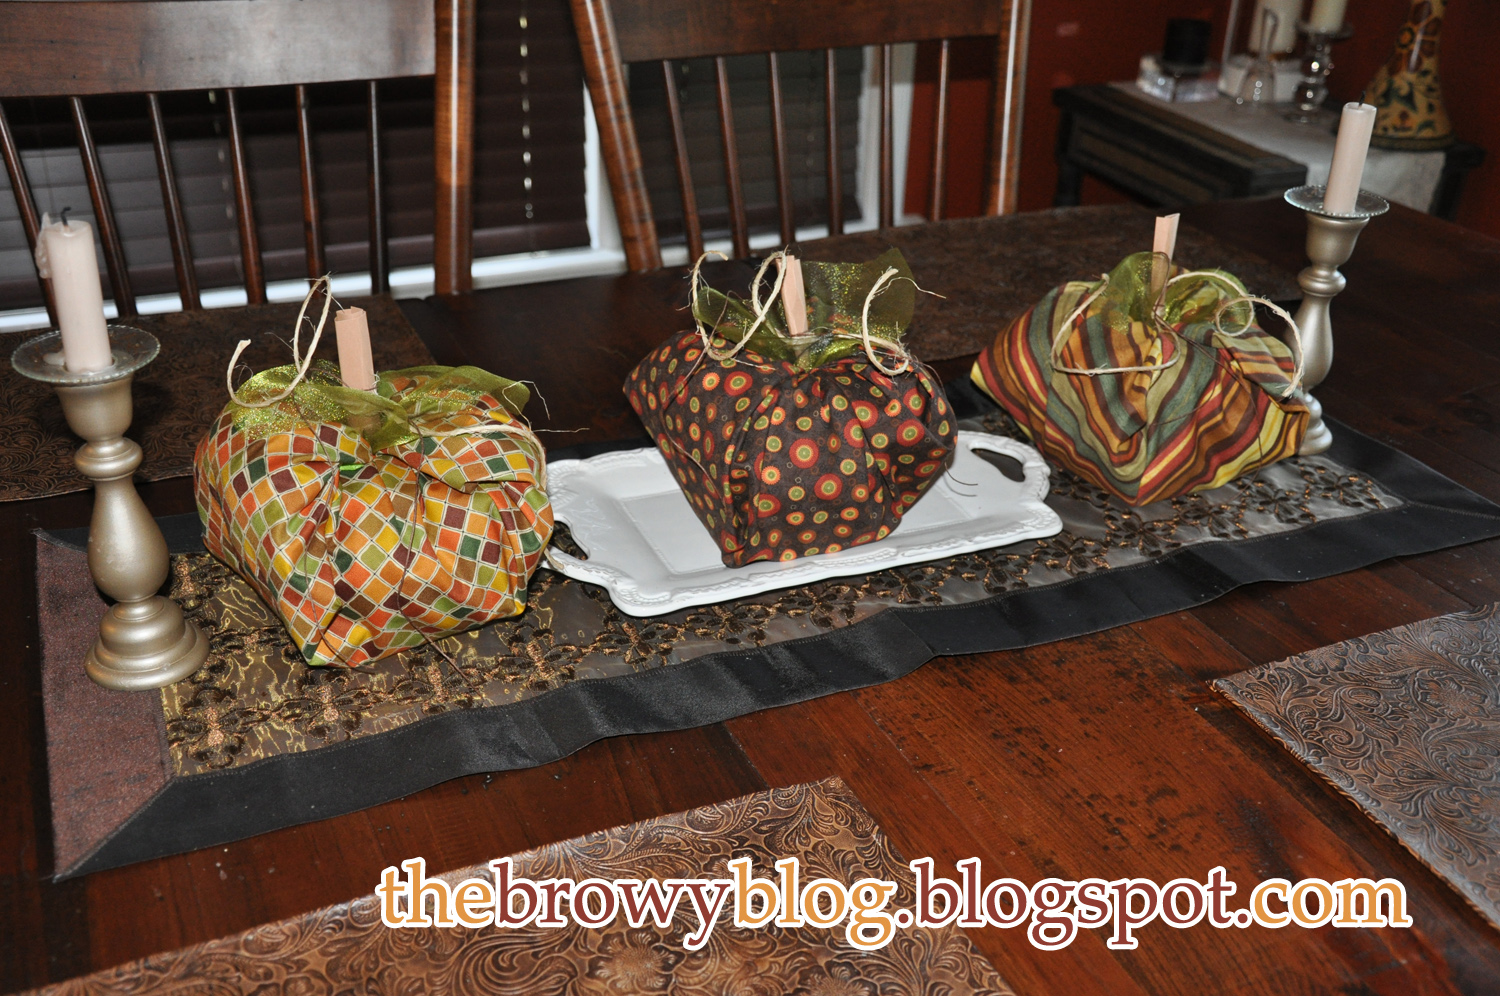
This year I came across these cute pumpkins made out of fabric and a toilet paper rolls!
So simple and easy but they look so cute.
Here are how mine turned out:
Here is how I made them:
1. Choose three different fall fabrics - purcahse about 22 inches of the fabric - my fabric was 45 inches wide, SO I was able to make TWO pumkins out of one 22inch long piece, by simply cutting it in half. (So now I am able to give some as gifts too).
2. Place your piece of fabric face down on the table.
3. Scrunch up two pieces of tissue paper and then unfold them again placing them in the middle of the fabric. (This will give your pumpkin a bit more roundness).
4. Place a toilet paper roll in the middle of the tissue paper and fabric.
5. Start by tucking one corner of the fabric into the middle of the toilet paper roll, and continue tucking each corner in clockwise.
6. Use a piece of brown card stalk or brown paper bag rolled up a few times for the stem, OR you can even use a stick from outside. Simply insert the 'stem' into the middle of the pumpkin.
7. To finish it off I used wide green ribbon from the dollar store to make the leaves. I simply cut a piece of ribbon about 10 inches long and then stuck the ribbon under the stem before pushing the stem into the center of the pumpkin. I also tied twine and brown string to the stem to look like vines. I also want to add green floral wire to the stem and then curl it around a pencil to make it look like curly vines coming off the stem.
* Once fall is over you can simply unfold the pumpkins and keep the fabric and leaves/vines/stem in a bag and then next year simply recreate your pumpkins on new TP rolls!
Showing posts with label fall decoration. Show all posts
Tuesday, September 4, 2012
Thursday, November 11, 2010
Wreath Re-Creation |
I use the same grape vine wreath for every season. I simply change out the ribbon and folliage that I place on it.
Fall 2010:
Christmas 2010:
Winter 2010:
I have also made an Easter wreath using branches of pastel colour eggs, a colorful summer wreath with plad ribbon and fruit, as well as a Valentines Day wreath using heart garland and a felt 'Love' word. (I don't have pictures of those wreaths).
Using a grape vine wreath with simple additions to it is an inexpensive way have a wreath for every season!
Labels:
christmas,
christmas decoration,
craft,
DIY project,
fall decoration,
handmade,
holiday,
rustic decor,
wreath
Monday, October 4, 2010
Floral Pumpkin Centrepieces
-------

Looking for an easy and inexpensive DIY centre piece for your table this Thanksgiving?
& don't we all want an excuse to carve out an ewey guey pumpkin once a year?


It's simple:
- Cut a hole in the top of you small pumpkin (the hole size should reflect the numbers of flowers / amount of foliage you have)
- Carve out the insides of the pumpkin (Don't forget to save the seeds to make a tasty treat out of them!)
- Line the inside of the pumpkin with a few shakes of salt (this will preserve the pumpkin for a longer amount of time)
- Choose to use oasis (for a more formal arrangement) or a freezer bag full of water (for a more country loose picked look)
- Gather flowers from your garden and fall foliage (leaves, branches, soy beans, wheat etc.) OR if you are a city gal pick up an inexpensive assortment of flowers from your local grocery store or florist.
- If you choose to use oasis simply soak it in water and cut it to size to fit inside your pumpkin, arranging the flowers and foliage as you wish by placing it into the oasis.
- If you choose to use a freezer bag, simply fill it with water and place it inside your pumpkin, inserting your fall arrangement into the bag.
- Choose to add a little extra to your arrangement by adding a fall figurine (like the mini scarecrow or mini corn as seen in the photos) or add ribbon around your pumpkin or place it on a fall patter or a bed of leaves.
Subscribe to:
Posts (Atom)
The Before & Afters of our Home
Home Improvements Slide Show
"Befores" - Images of our home when we bought it
In Front Of Our New Home!
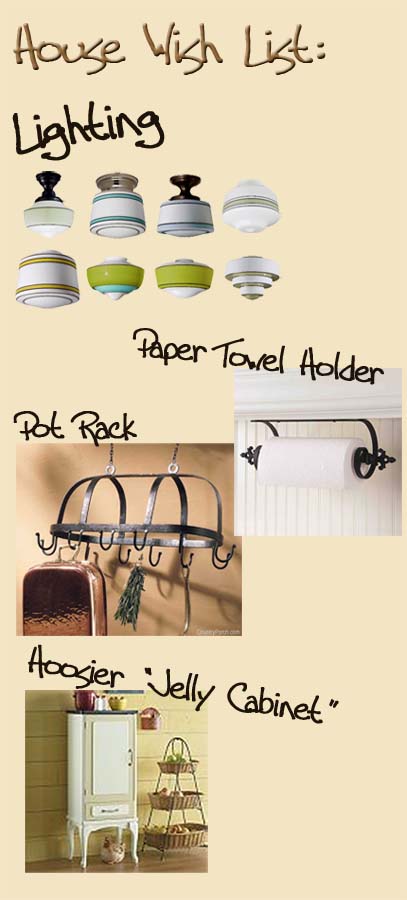
Wish List For Our Home:
Our New Home Songs |