Tuesday, September 4, 2012

Pumpkins out of TP rolls! |

As September rolls around I get so excited about fall, my favourite time of year!

This year I came across these cute pumpkins made out of fabric and a toilet paper rolls!
 So simple and easy but they look so cute.

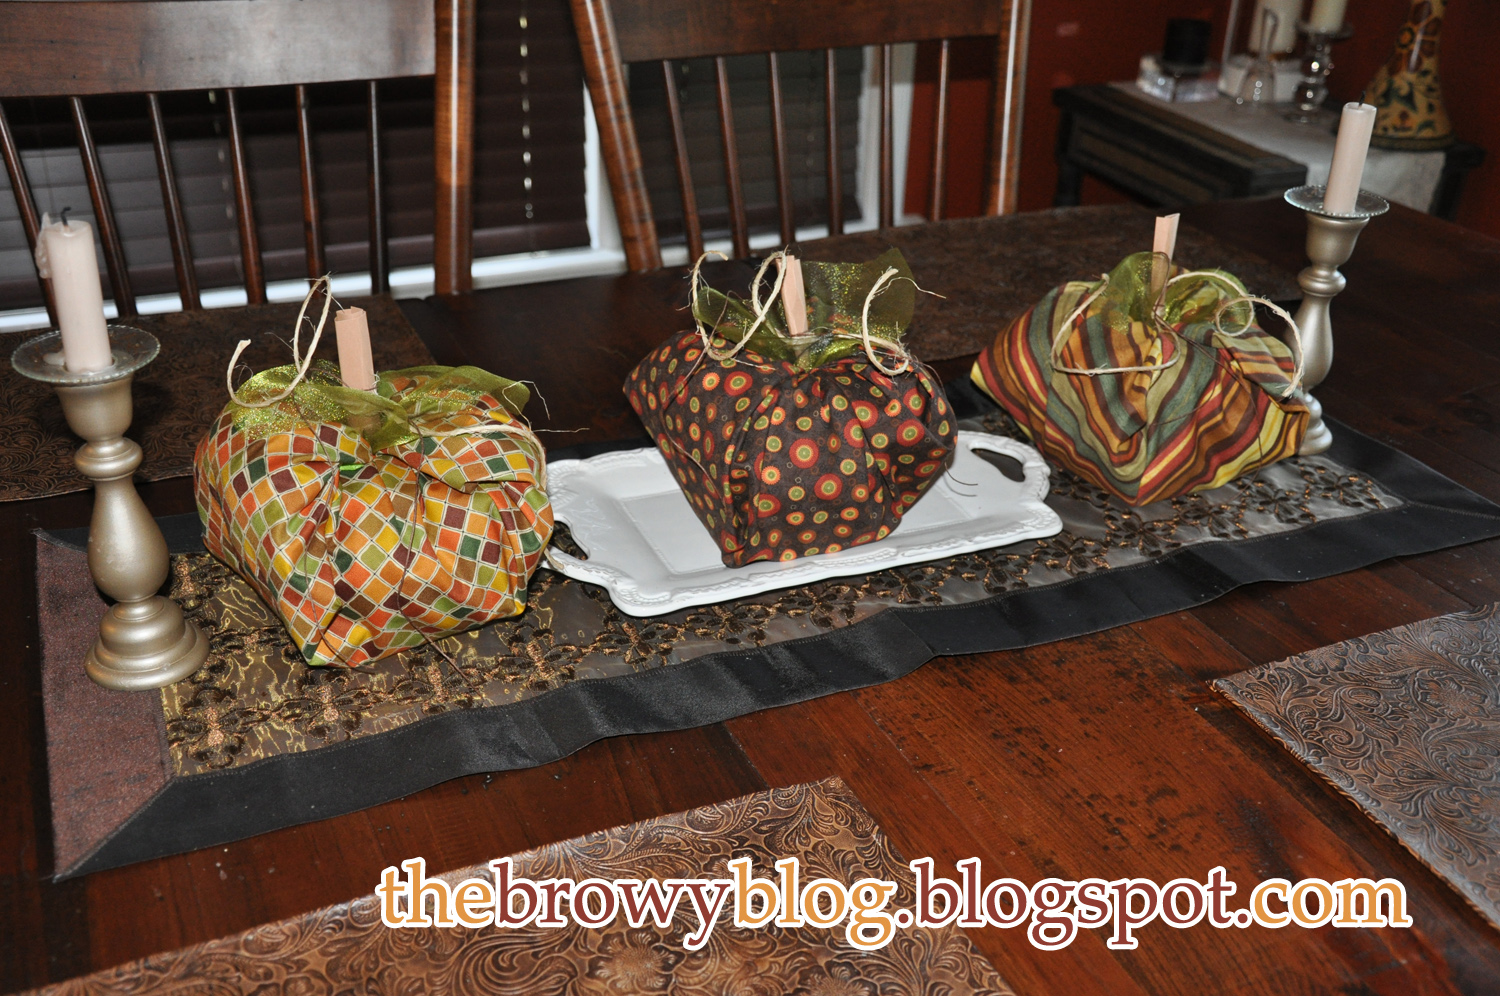
Here are how mine turned out:


Here is how I made them:
 
1. Choose three different fall fabrics - purcahse about 22 inches of the fabric - my fabric was 45 inches wide, SO I was able to make TWO pumkins out of one 22inch long piece, by simply cutting it in half. (So now I am able to give some as gifts too).

2. Place your piece of fabric face down on the table.

3. Scrunch up two pieces of tissue paper and then unfold them again placing them in the middle of the fabric. (This will give your pumpkin a bit more roundness).

4. Place a toilet paper roll in the middle of the tissue paper and fabric.

5. Start by tucking one corner of the fabric into the middle of the toilet paper roll, and continue tucking each corner in clockwise.

6. Use a piece of brown card stalk or brown paper bag rolled up a few times for the stem, OR you can even use a stick from outside. Simply insert the 'stem' into the middle of the pumpkin.

7. To finish it off I used wide green ribbon from the dollar store to make the leaves. I simply cut a piece of ribbon about 10 inches long and then stuck the ribbon under the stem before pushing the stem into the center of the pumpkin. I also tied twine and brown string to the stem to look like vines. I also want to add green floral wire to the stem and then curl it around a pencil to make it look like curly vines coming off the stem.

* Once fall is over you can simply unfold the pumpkins and keep the fabric and leaves/vines/stem in a bag and then next year simply recreate your pumpkins on new TP rolls!

Antique Nursery Finds |

It is getting so hard not to get started on the nursery for our little one.
We are only ONE WEEK away from our gender reveal ultrasound!!

I had a midwife appointment today and I heard our sweet darlin's heartbeat again today!  After the appointment I stopped into the Antique shop to do a preliminary sweep for items that would work well in either a little boy's 'Western' theme nursery OR a little girl's 'Sweet Antique Peach' nursery.

Here are a few of the finds:

 Some of the Western finds include: 
1. An awesome 40/50s 'Rodeo' poster that is a target for a suction bow and arrow toy.
2. A cute vintage red side table for only $20.00!
3. A three horse ceramic napkin holder that could be used simply as a shelf decoration (or to hold something).
4. Great quality leather bookends with a cowboy/rodeo rider on them.
5. A cowboy playing card set (could make a collage out of all the different cards in the pack and then frame it for wall art).
6. A cute handmade wooden horse and cart.
7. A neat vintage cow toy.
8. A limited edition wagon bank, still in the box.
* I also got the idea of using old Hardy Boy books as decor in the room as they have icon bright blue spines and interested covers!
* There were also a lot of cute wooden crates that would work well for extra storage bins for toys, diapers etc.

Some of the items I found that would work great in a little girl's nursery include: 
1. A super cute soft yellow tea pot with white cherry blossoms on it.
2. A whole shelf full of adorable ceramic 'nick-naks' all in soft pastel colours (my favourites were the birds).
 3. A cute round, pastel coloured Peter Rabbit tin.
4. An adorable water colour painting of a little girl eating a peach (would go great with the 'Peach theme' nursery).
5.  A box of ceramic Cupie Dolls all really cute poses (would look cute in various places on a shelf).
 6. Adorable pink ceramic shoes! I just think they are precious!
* There was also a little white wicker rocking chair and some great embroidered items that would look great on shelves or framed as art for the room.


I can't wait until I can actually go an choose some of these items for the room once we find out what we are having! :D

Sunday, May 6, 2012

Back Yard BBQ |


With outdoor entertaining season coming up I thought I would post a few photos from a 'green theme' birthday party BBQ I had last year for my husband's birthday.

I hope there are a few photos that spark some inspiration for your outdoor event this summer.

  Green Theme! Green lanterns, table cloths, place mats, pillows, napkins, cutlery, plates, food, drink etc.

Lanterns left over from my wedding and a table runner I made with outdoor fabric.

Green and white food covers for all our munchies!


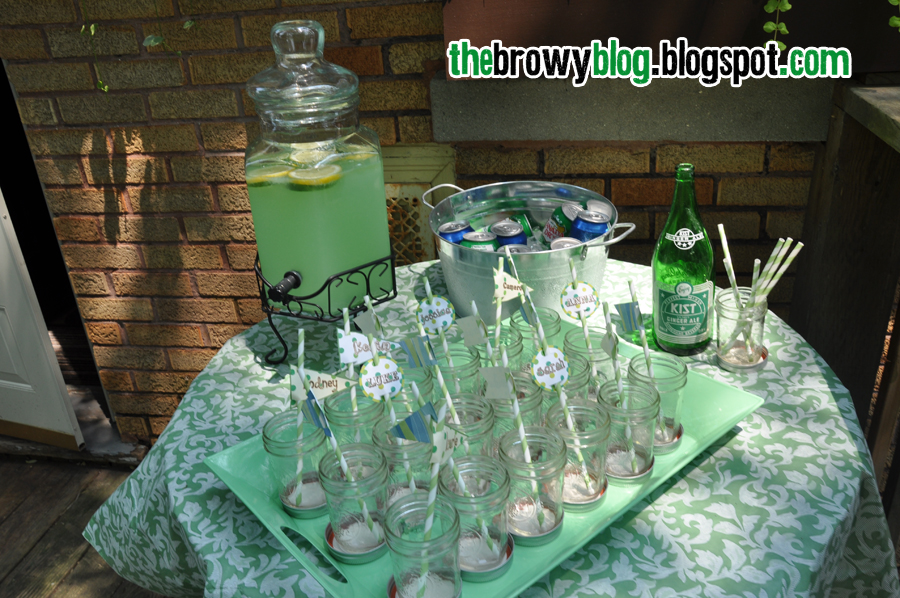
I made green straw flags with everyone's name on them (so they could easily identify their drink) - you can order custom straw flags for your event from me HERE and I got green stripe paper straws from Hey Yo Yo!

Green Punch and Pop choices.


My husband is a healthy eater and doesn't like sweets so I made him a cake made of fruit (not to be mistaken for a 'fruit cake' hehe) I also made another 'garden theme' cake for a friend whose birthday was close to our BBQ.

I also made these fun BBQ theme cupcakes. I used orange sprinkles to look like fire, black icing gel for the grill lines and cup up jube jube, hot tamales and caramels for the meat and skewers.


I forgot to take a photo of my veggie and fruit trays - but I did ALL GREEN veggies and fruit on each tray.
Veg: Green pepper, celery, broccoli, cucumbers, snow peas.
Fruit: Green apple slices, kiwi, green grapes, honeydew mellon

I made green outdoor pillows for our Muskoka chairs to make them even more comfy!

I gave my husband a Birch Tree for our back yard as his gift!

We played Ladder Ball and Bocce Ball & had a bonfire & fireworks!

Sophie is all tired our from too much partying!


Happy BBQ and outdoor entertaining season!


Wednesday, May 2, 2012

I was featured on...


Craft Corners! 

I won a 'Best of Web' editors choice award for 'Blog excellence' from craft corners!

Check out their post HERE that includes a bunch of other great crafters/bloggers too!

Thanks Craft Corners!

Wednesday, April 25, 2012

Sunday, April 22, 2012

Mother's Day Sunday School Craft |

I was searching online for a good Mother's Day craft for our Kids Church program and I ended up merging together a few of the ideas that I came across, so I thought I would share the craft idea in case someone else out there is looking for a cute, meaningful and simple craft idea.

We needed something that was good for a wide age range of children (Toddler to age 8). We also wanted something that the kids could present to their moms when they come in at the end of the service on Mother's Day.

I came across this image about 'Good Roots' and that is what started the idea:

It is basically a foam flower (you can get them in a 20 pack at Michales Craft Store) that the kids can decorate with markers, stickers etc. Then you simply tape a wooden skewer to the back of the flower and then wrap a green pipe cleaner around it to make the stem. Then I created a tag that is to be tied to the stem with green ribbon (making the leaves).

The tag includes a scripture verse with a play on words: "Train up a child in the way they should "GROW", and they will not depart from it." Prov 22:6.
As well as the "Thanks for the good ROOTS Mom!" concept.

Here is the tag - feel free to copy it and print it for use if you wish to make this craft:


And here is how the final product will look:


Here are the kids making the flowers and telling us why they love their mom! This video was played in the morning service on Mother's Day right before the kids came in with their flowers:


Have FUN!

Tuesday, April 17, 2012

Reminiscing...Our Jack and Jill |

Came across this video clip of the 'Ricker Vs. O'Hara' Tug of War on Facebook today and it made me start reminiscing about our Jack and Jill and I thought I would create a slide show of the event.

Thanks again SO MUCH to everyone involved in pulling the day together! It was a lot of fun!

Ricker Vs. O'Hara Tug Of War |


Slide Show |

Related Posts Plugin for WordPress, Blogger...

The Before & Afters of our Home


Home Improvements Slide Show

Click on the slideshow to open up a 'Gallery' mode where you can scroll through the images.

"Befores" - Images of our home when we bought it

In Front Of Our New Home!

In Front Of Our New Home!

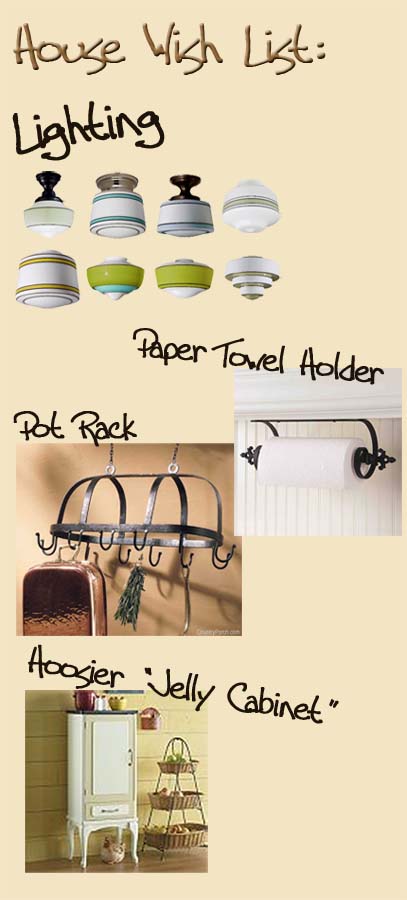
Wish List For Our Home:

Wish List For Our Home:

Our New Home Songs |